Debugging my daughter’s broken e-reader
A few weeks ago my daughter brought me her Kobo e-reader and said she thought it might be beyond repair. Up to this point the Kobo had worked pretty well. Though she’s had some issues with it rebooting this was nothing a soft reset wouldn’t remedy.
This device being unusable was a pretty big deal because my daughter is an avid reader. I realized quickly that I would be broke if I tried to satiate her desire for books by purchasing physical copies every time she finished one. An ebook reader became the obvious choice especially with the local library providing digital options!
Initial troubleshooting
When I started testing the device I noticed it would reboot every time I pressed the sleep button and it would also reboot after using it for about a minute or so. And if I tried holding the power button for a while it would also reboot and start the cycle over again.
Approaching this problem my thought process was as follows:
Charge it up full - to see if that solves it and go from here
Soft reset - she had tried and I had tried a few times to no avail
Full reset - annoying to completely wipe the device and re-login to everything but it could help
Check the charging port - micro usb aren’t the most reliable
Check the battery - something I could potentially fix
Blame it on the motherboard - this would be beyond my abilities
I had issues with the first step of charging it fully and could tell the port was already an issue, but decided to go through the entire process to make sure I’d covered my bases.
The software-only troubleshooting was unsuccessful (including a full reset) so I moved on to hardware debugging.
Fix Attempt #1: Charging port
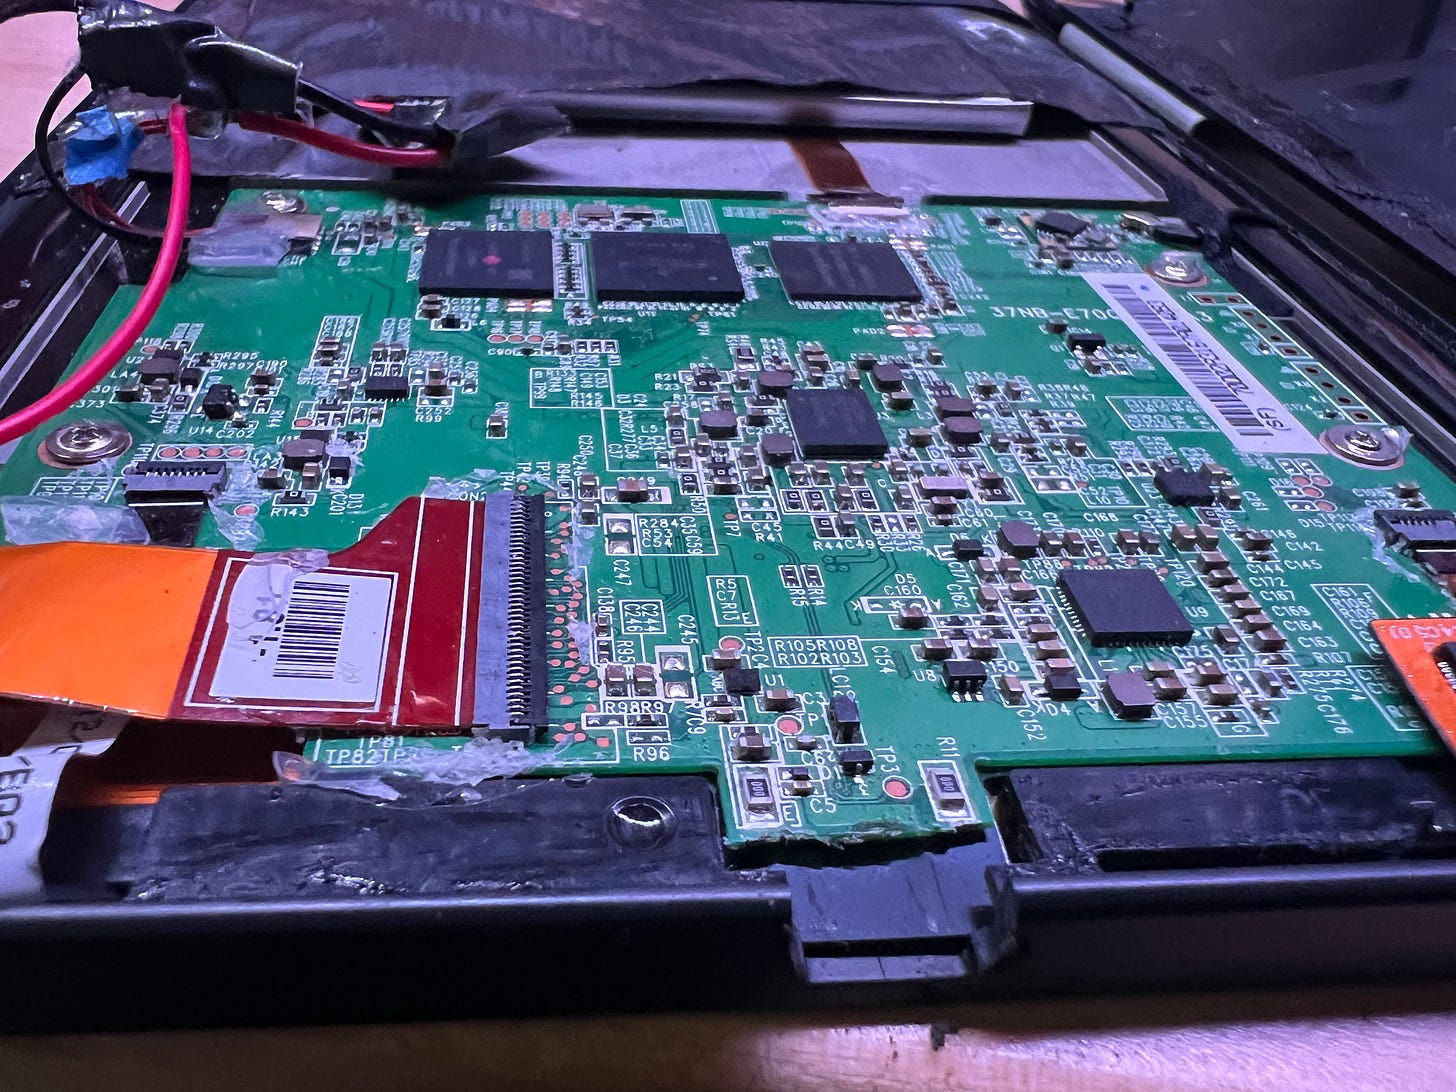
Before I could get to the charging port I needed to remove the back cover. I used some leftover phone screen replacement tools I had lying around. Fortunately this was pretty simple and I didn’t break any ribbon cables in the process.
Next my goal was to remove the micro usb port and then see which type it was to get a replacement on Amazon. This was a bit harder than I expected especially since I don’t have the right tools (mainly a heat gun).
I watched a bunch of YouTube videos to get an idea of the process and then decided to give it a try with my soldering iron which was a mistake on my part. I also didn’t have any flux which I noticed a lot of people used for the non-heat gun approach so I basically tried to forge my own path.
After 5-10 minutes of struggle and impatience I wiggled the port up and down with heat and was successful in snapping off the piece of the motherboard that the micro usb port attaches to.
Fix Attempt #2: Charging port surgery
Since I completely snapped off the micro usb port AND the part of the motherboard a replacement port would connect to 🤦🏻♂️… I somehow decided not to give up and brainstorm another potential solution.
I’ll bypass that part of the motherboard entirely and look for a 3rd party charger that will connect straight to the battery.
When I was looking around I found a USB-C to LiPo battery charger with a small board and decided that was the perfect solution since even the iPhone is switching to USB-C (RIP lightning cable you were well loved). I just needed to confirm the specs of the charger matched the polarity of the battery. Fortunately for me they both were red = positive, and black = negative so I was good to go.
The one I ordered came in a two pack and when it arrived I was ready to start testing the original battery with a reliable charging port.
After a little testing I realized the problem was still happening. Putting it to sleep or using it for a minute would still cause it to freeze and the e-ink would start to slightly scramble the image.
My new theory was that the battery was totally shot and has run out of cycles. And because it can’t sustain the energy output it causes the e-ink to spasm as it tries to refresh to a new page state.
As I was coming to this hypothesis I remembered my daughter mentioning recently that the battery life seemed to be getting worse and she needed to charge it much more frequently than usual. This all but confirmed my suspicions. Now I needed to find a replacement battery.
Concerns
Days have gone by at this point and my wife has started to question the value of my hobby project and disappearing into dark rooms late at night to try to fix it. But I reassured her that me spending a little time here and there is better than a $150 replacement e-reader of similar quality if I’m successful (I bought the original one used at a much cheaper price, but for the sake of argument… 😅).
I was also not super confident at this point since I had completely busted the original charging port, but I wanted to hold out hope. And if nothing else than to encourage a fellow dad out there to reduce unnecessary waste if possible it would be worth it. But ideally I could increase the usable life in years🤞🏻for a fraction of the cost of a replacement.
Fix Attempt #3: New battery
Finding a battery was pretty straightforward. This model e-reader was pretty old so I had trouble finding the same 1200mAh battery but I did find the newer cousin model which had a 1500mAh. But before I pulled the trigger the one I had in my cart was unavailable so I decided to get a larger generic battery (2300mAh) and hopefully boost the usable time my daughter could read it between charges. (The fact that a larger battery is thicker wasn’t something I wanted to acknowledge yet…how in the world would I get the back cover on?)
The battery took way longer to ship than I was planning so I waited all week until it arrived on a Friday. Finally when it arrived I turned on my soldering iron and jerry-rigged it to both the e-reader’s battery connector and my new USB-C charging board.
And of course the battery was completely dead so I had to leave it charging for 10-15 minutes to test it properly. I tried to test it a few times impatiently but it just booted up and powered off each time. This was due to not enough charge and it cleanly shutdown, which was different than the issue I was trying to fix where the e-ink would spasm and freeze mid refresh.
Finally the moment I was waiting for: does it get power, hold a charge, and power the e-reader? ✅ Yes, but more importantly does it prevent the weird sleep button or use-more-than-a-minute freeze/e-ink screen scramble problem? Maybe.
Tests
I tested the sleep button and it went to sleep and woke up as expected. ✅
I powered it off and back on and used it for more than a minute. ✅
I showed my daughter and had her test it and download a book. It froze once but after watching her use it I think it froze in a normal way which occurs from how fast she navigates the device being a digital native herself. ✅
The last “test” was letting it sit over night and seeing if it powered back on from sleep like it should do normally (this failed in my initial debugging). And it worked! ✅
I wasn’t entirely in the clear yet but I was feeling super close especially after 2 weeks of debugging.
Mini-crisis
After a few days my daughter was beta testing it and left it in reach of my 3 year old unattended. At this point it was loosely taped together and pretty fragile. The charging port specifically was not secured, though I did tape the battery down pretty good.
She brought it to me in despair. Half of the connectors were removed, the back case half held on by tape flapping half open. Fortunately none of the delicate ribbon connectors were torn or damaged!
Final(ish) fix attempt #4
I used this opportunity to buy a more reliable and super cool soldering iron called the Pinecil (not a sponsor). It’s open firmware, smart, compact, and it heats up incredibly fast. It arrived that night and I was able to beef up a few of the solder joints with it.
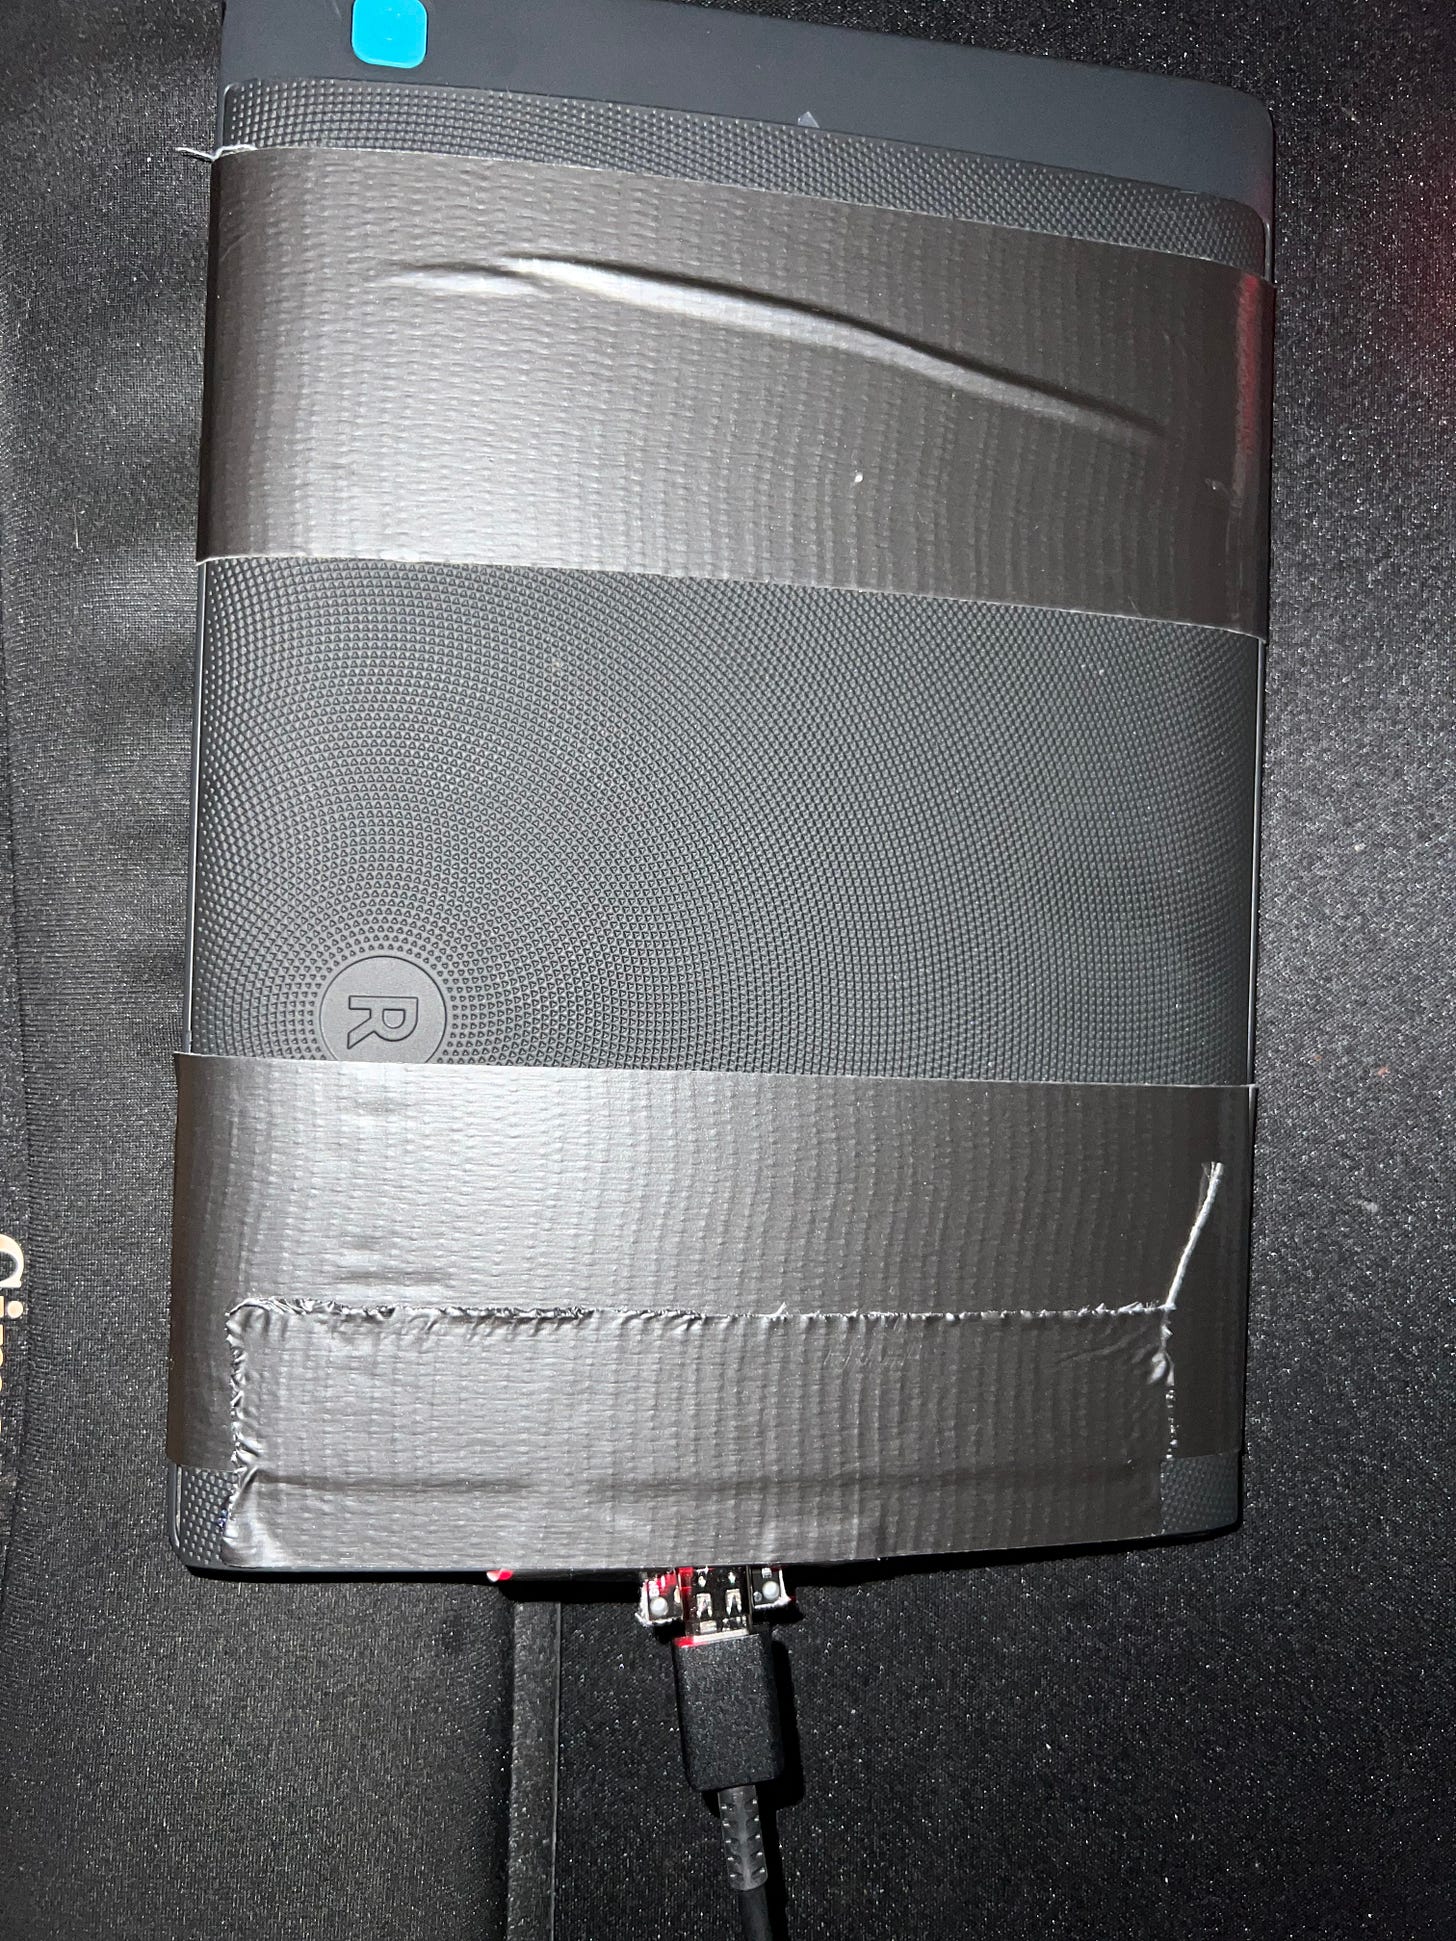
Instead of trying to find a slimmer battery to fit in the case I discussed with my daughter and we decided to make it seal up as much as possible with the help of some gaffers tape.
I used my dremel to give a little notch for the USB-C motherboard to fit in upside down. And I added a little two-part epoxy to hopefully stabilize the USB-C connector which at this point was my biggest concern.
My daughter has been using it a few days so far and it seems almost better than the original.
Tradeoffs & Future Improvements
The biggest downside to how I “fixed” it" is that when you’re charging with USB-C it bypasses the motherboard so you don’t get an accurate battery estimate while the device is on. I did notice a soft reset would update the battery calibration so I think we’ll have to settle for that unless a reader can explain to me how I can patch into the board with an extra wire to let it know it’s charging or not. 😏
The other improvement I’d like to make is a 3D printed back piece that I could glue on properly. I haven’t done any 3D printing and don’t have one so not sure when this would happen.
I know this one was a little different and a little longer than usual but I hope you enjoyed it. I’ll likely post an update if anything interesting happens to it or if I figure out a way to improve my repair.
Thanks for reading and to any fix-and-repair dads out there: keep up the good work!
-Jesse
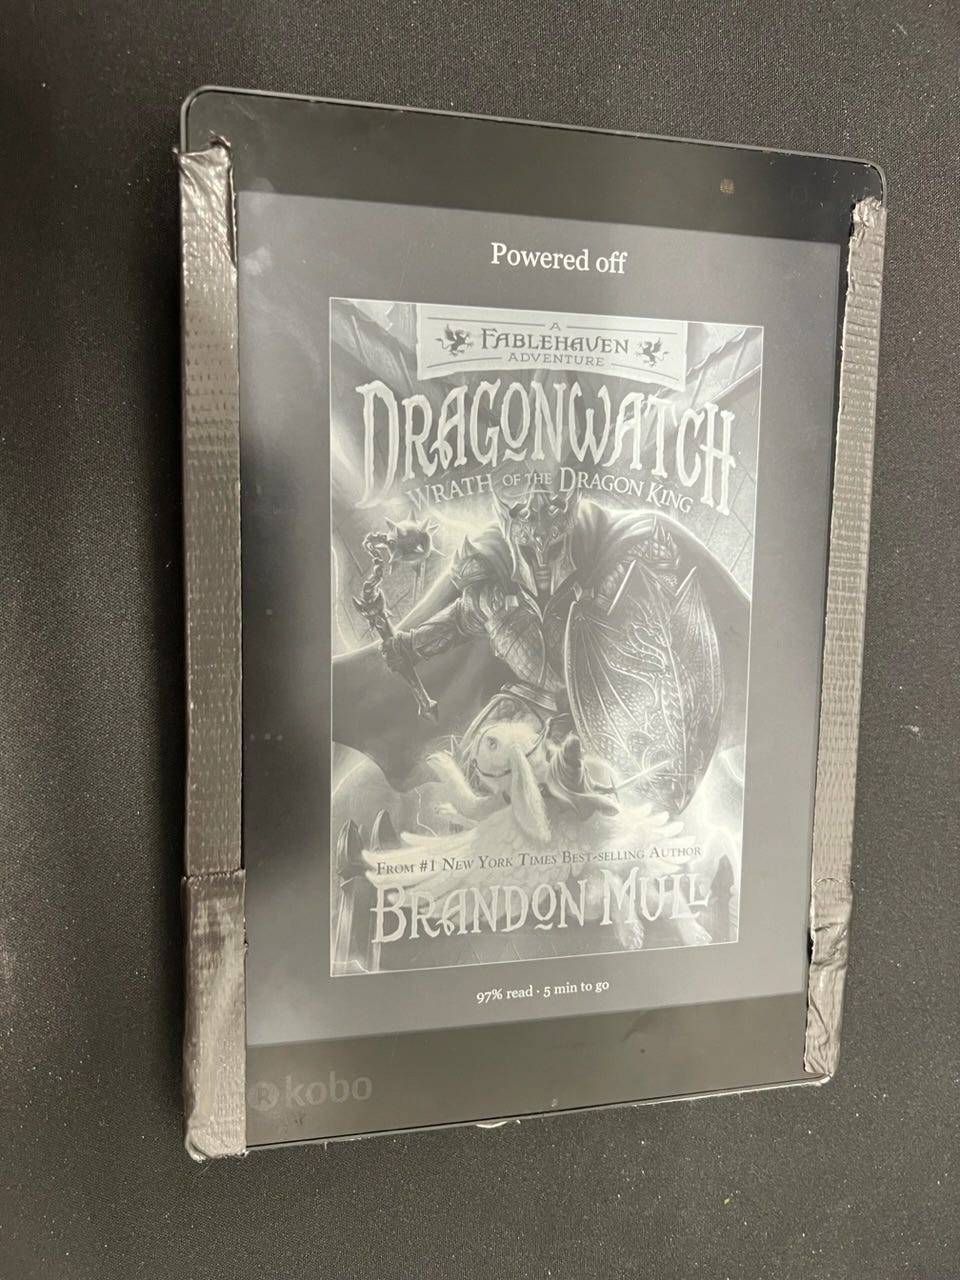
“Final” form -


